You’re staring at twenty-seven wooden panels spread across your living room floor, a bag of screws that could stock a hardware shop, and an instruction booklet written in what appears to be universal hieroglyphics. It’s 7pm on a Sunday, you’ve got work tomorrow, and that flat-pack desk you bought “to save a few quid” is beginning to look like the worst decision since you thought you could paint the spare room in an afternoon.
We’ve all been there. The promise of affordable furniture that “assembles easily in just two hours” meets the harsh reality of Allen keys, cam locks, and that one screw that never seems to go where it’s supposed to. But here’s the thing: once you know how to assemble flat pack desk furniture properly, it transforms from a nightmare into something almost therapeutic. Almost.
The secret isn’t superhuman patience or engineering skills. It’s knowing the tricks that furniture assembly veterans have learned through years of swearing at Swedish instruction manuals. Get the approach right, and you’ll have that desk built in under two hours without once questioning your life choices.
Clear Your Space and Check Everything First
Before touching a single screw, empty a room or clear the largest floor space you can find. That coffee table assembly you attempted on the sofa taught you this lesson already. You need room to lay out all the pieces, organise hardware, and move around the desk as it takes shape.
Check every component against the parts list before starting. Count screws, washers, and wooden dowels. Look for damaged panels – flat-pack furniture travels rough, and receiving one cracked side panel after you’ve built the frame is the sort of setback that leads to very colourful language.
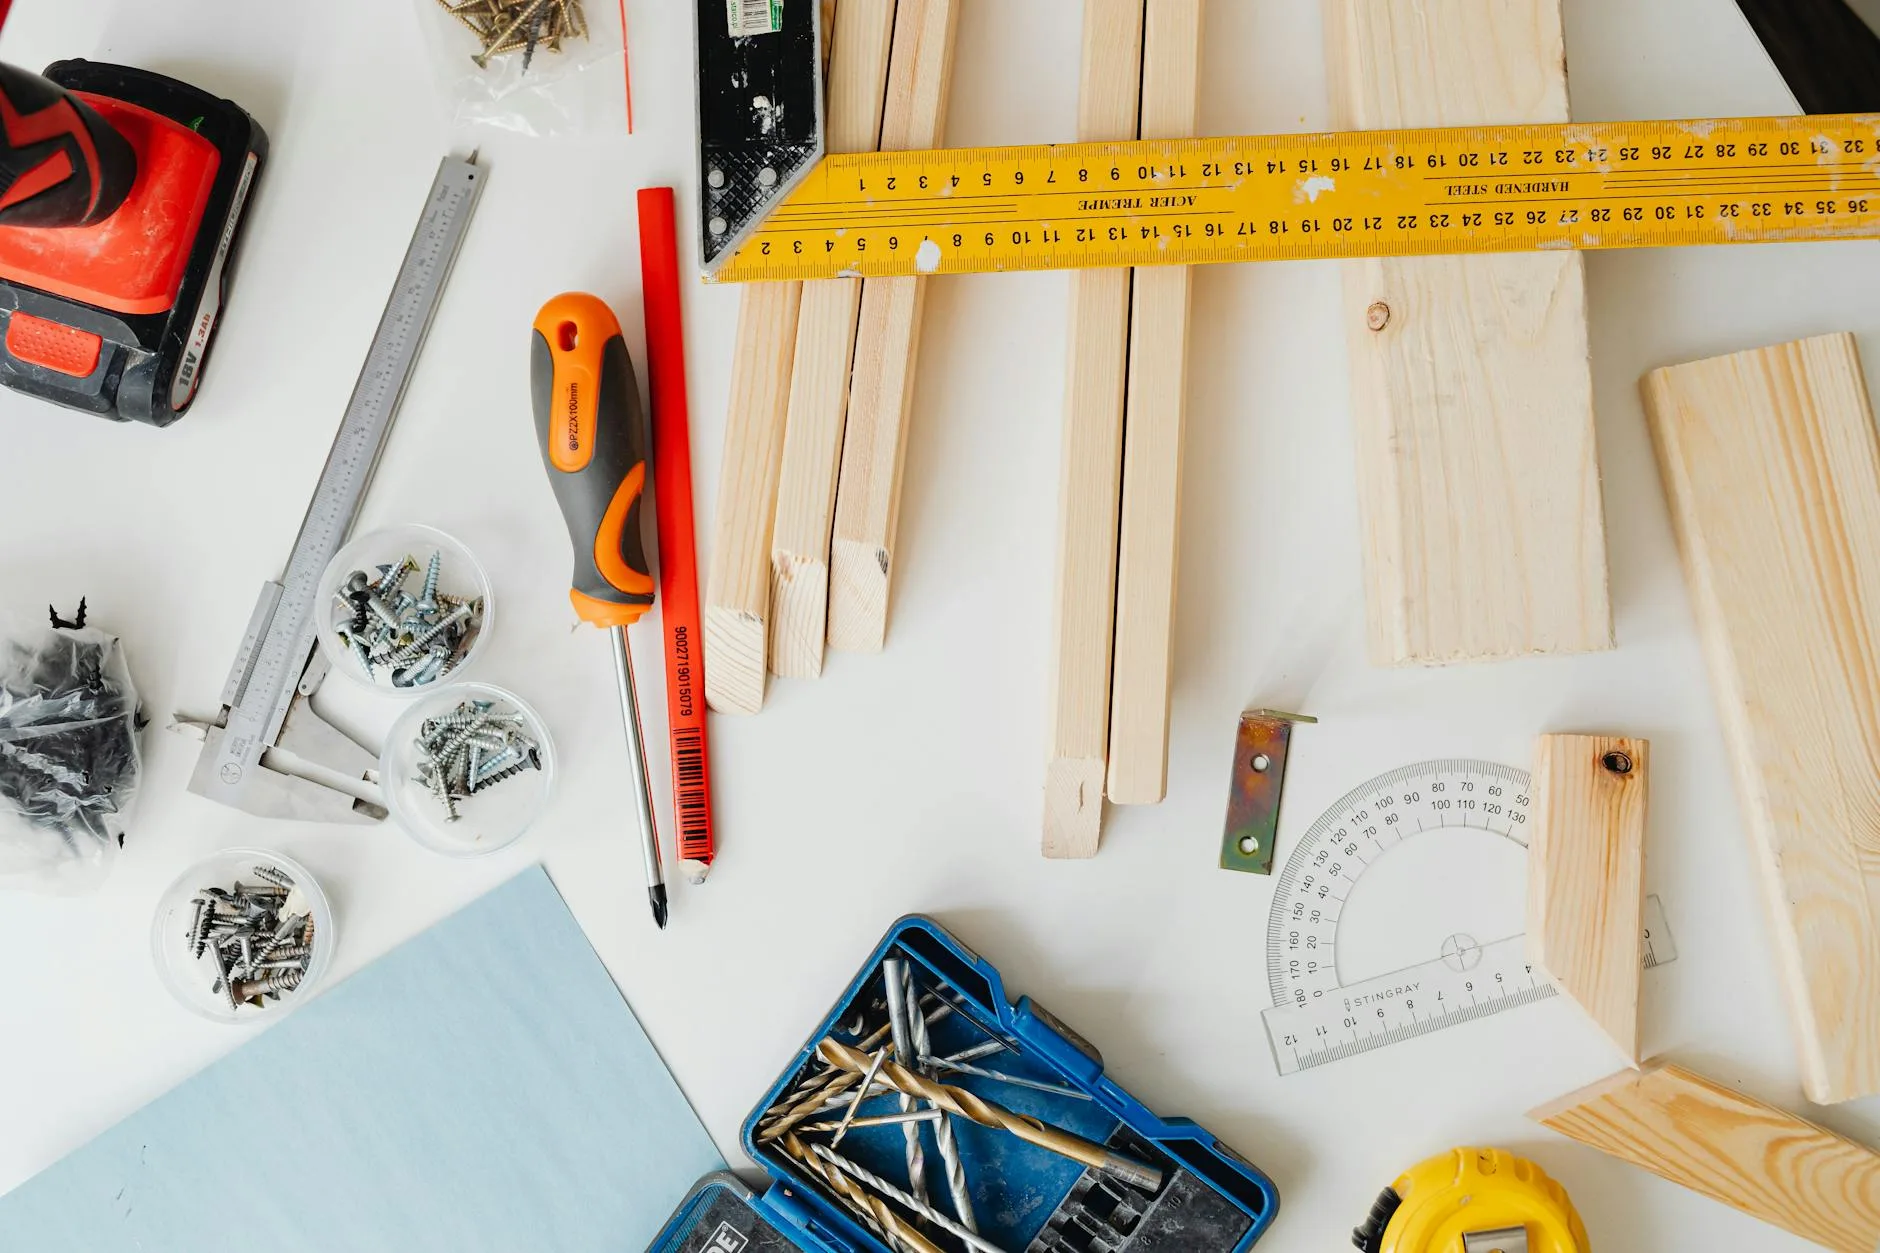
Essential assembly kit:
- Electric screwdriver – your wrist will thank you after fifty screws
- Set of Allen keys – the ones included are usually rubbish
- Rubber mallet – for persuading stubborn joints
- Level – crooked desks look awful and wobble forever
- Pencil – for marking hole positions
- Measuring tape – because “roughly here” leads to wonky shelves
Most flat-pack disasters happen because people rush this stage. That extra fifteen minutes spent organising saves an hour of hunting for the right screw when you’re halfway through.

Actually Read the Instructions (Yes, All of Them)
Here’s what separates successful desk builders from those still swearing at their furniture three hours later: they read the entire instruction booklet before picking up a screwdriver. Not just a quick glance – properly read it cover to cover.
Look for the assembly sequence. Most desks follow a logical order: build the frame first, add the desktop, then attach drawers and accessories. But some designs are back-to-front – you might need to attach drawer runners to side panels before building the frame, or slide in the back panel before adding the top.
Pay attention to the hardware diagrams. That pile of identical-looking screws usually contains three different lengths and two different thread types. The 40mm wood screw and the 35mm machine screw look almost identical until you’re trying to force the wrong one into a hole.
Check which way panels face. Most flat-pack furniture has a “good” side and a “hidden” side. The good side has cleaner edges and better finish. Install panels upside down and you’ll spot it immediately once everything’s together – ask me how I know.
Start With the Frame, Always
Every desk has a backbone, usually the two side panels connected by support rails. Build this frame first and get it square and solid before adding anything else. This foundation supports everything that follows.
Attach hardware to panels first: If your desk has drawer runners, shelf supports, or mounting brackets, attach these to individual panels before assembling the frame. It’s much easier to drill and screw when the panel is flat on the floor than when it’s part of a three-dimensional puzzle.
Hand-tighten only until the frame is complete: Don’t fully tighten any screws until the entire frame is together and square. You need some wiggle room to align everything properly. Fully tightened screws fight you when you’re trying to square up the frame.
Check for square constantly: Measure diagonal distances across rectangles. If the frame is square, both diagonals will be identical. Out of square by even 5mm and your drawers will bind, doors won’t close, and the whole desk will look wonky.
Most flat-pack frame joints use either cam locks (those plastic discs you turn with a coin) or confirmat screws (the fat screws that go into pre-drilled holes). Both work well when installed correctly, but cam locks need the pre-installed dowel to be properly seated first. If you are exploring this area, our guide on How to Create a Home Office in a Small Flat covers the essentials.
Common Flat-Pack Assembly Mistakes That Ruin Everything
Installing panels backwards: Every flat-pack panel has a front and back side. The better-finished side should face outward. Mark the good side with tape before assembly if you’re not sure – it’s obvious once everything’s together, but too late to fix.
Over-tightening screws in MDF: Most budget desks use MDF or chipboard, which strips easily. Our guide to desk materials like MDF, solid wood and bamboo explains the differences in detail. Once the threads are gone, that joint is permanently loose. Tighten until snug, then maybe another quarter turn. That’s it.
Ignoring the assembly sequence: Those numbered steps exist for a reason. Skip ahead and you’ll find yourself trying to install a back panel through an opening that’s now too small. Follow the order, even when it seems illogical.
Using the wrong screws: That bag contains multiple screw types for good reason. Machine screws go into metal inserts, wood screws go into raw material. Mix them up and you’ll either strip threads or have loose joints.
Not supporting the desktop: When attaching the desktop to the frame, support its weight properly. Letting it hang unsupported while you line up screw holes puts stress on joints and can crack panels at screw points.
The biggest mistake? Assembling alone when the job needs two people. Desks with large tops or tall bookcases need someone to hold pieces steady while you align and fasten. Trying to be a hero leads to dropped panels and damaged edges.
Troubleshooting When Things Go Wrong
Holes don’t line up: This usually means the frame isn’t square or you’ve installed a panel backwards. Check diagonal measurements and flip any panels that look wrong. Don’t force misaligned holes – you’ll crack the material.
Screws won’t tighten: You’ve either stripped the hole or you’re using the wrong screw type. For stripped holes in wood-based materials, use a longer screw or add some PVA glue to the hole and let it dry before re-attempting.
Panels don’t fit flush: Check for swapped panels. Left and right sides are rarely identical, and installing them backwards creates gaps. Also check that you’ve fully seated all dowels – half-inserted dowels prevent proper panel alignment.
Drawers bind or won’t slide: The frame is probably out of square, or you’ve mounted runners at different heights. Measure everything twice and adjust the frame before assuming the runners are faulty.
Everything wobbles: Either the frame isn’t square, you haven’t tightened something properly, or you’re missing a brace. Many flat-pack desks rely on the back panel for rigidity – make sure it’s properly secured all around. You might also find our Standing Desk Mistakes Everyone Makes (And How to Fix Them) guide useful here.
If you’re really stuck, don’t be embarrassed to take photos and message the manufacturer’s support team. Most companies would rather help you succeed than deal with a return. John Lewis and IKEA, in particular, have excellent assembly support.
Getting the Desktop Perfect
The desktop is where you’ll notice every mistake, so take time to get it right. Most flat-pack desks attach the top with figure-8 fasteners, machine screws into threaded inserts, or simple wood screws from underneath.
Position it perfectly before marking: Get the top exactly where you want it, then mark screw positions with a pencil. Moving a desktop after drilling pilot holes means starting over with a different hole pattern.
Pre-drill pilot holes in solid wood: If your desktop is real wood rather than veneered chipboard, drill pilot holes for screws. This prevents splitting and ensures screws sit flush. Use a drill bit slightly smaller than the screw’s core diameter.
Check the overhang: Most desks look best with equal overhang front and back, typically 15-25mm. Measure from the frame to the desktop edge at multiple points to ensure it’s parallel.
Support while fastening: Have someone hold the desktop in position while you work underneath, or use temporary supports. Fighting gravity while trying to align and fasten creates stress on joints.
For desks with built-in cable management, route cables as you install the top rather than afterwards. Threading cables through finished furniture is always more difficult than doing it during assembly.
Installing Drawers and Hardware
Save drawers, doors, and accessories until the main structure is complete and solid. This stuff looks easy but requires precision – wonky drawers are immediately obvious and impossible to ignore.
Install drawer runners in pairs: Mount left and right runners at exactly the same height and distance from the front edge. Even 2mm difference makes drawers bind or sit crooked. Use a measuring tape and mark positions with pencil before drilling.
Check drawer slide clearances: Most drawer runners need specific spacing – usually 12.5mm on each side for 400mm wide drawers. Measure your actual drawer box and runners, don’t assume standard dimensions.
Test fit before final fastening: Install runners with just one screw each, test the drawer operation, then add remaining screws. It’s much easier to adjust one screw than to relocate four. According to HSE workstation setup guidelines, this is worth keeping in mind.
Adjust door hinges properly: Flat-pack cabinet doors use adjustable hinges with three screws each. The front screw adjusts left-right position, the rear screw adjusts in-out, and the centre screw secures the hinge. Make small adjustments – quarter turns make big differences.
Most flat-pack drawer problems come from rushing this stage. Take time to measure twice and drill once. Wonky drawers look amateurish and remind you of assembly mistakes every time you open them.
Final Setup and Position
Once assembly is complete, resist the urge to immediately load it up and call it finished. Spend another twenty minutes on final adjustments – it makes the difference between furniture that looks professional and furniture that looks flat-packed.
Level the desk properly: Even on seemingly flat floors, most furniture needs levelling. Use adjustable feet if provided, or add thin shims under legs. A desk that rocks is annoying forever, and it stresses joints unnecessarily. If yours still wobbles after assembly, our guide to fixing a wobbly desk has some quick solutions.
Tighten everything properly: Now’s the time for that final check. Go around every joint and screw, tightening anything that’s worked loose during assembly. But don’t over-tighten – you’re not building a bridge.
Check all moving parts: Open every drawer, test every hinge, ensure nothing binds. Better to find problems now than after you’ve loaded the desk with equipment and positioned it perfectly.
Consider wall anchoring: If your desk is tall or top-heavy, particularly with hutches or shelving above, anchor it to the wall. Most flat-pack furniture comes with basic wall anchoring hardware – use it, especially in homes with children. The UK furniture safety regulations also cover stability requirements for tall furniture.
Position the desk considering cable access and lighting. That perfect spot by the window might create glare on your monitor, and placing a desk against walls with no nearby power sockets means trailing cables across the room.
Make It Last
Flat-pack furniture gets criticism for poor longevity, but most failures come from assembly mistakes or misuse rather than inherent design flaws. A properly assembled flat-pack desk can last decades with basic care.
Retighten periodically: MDF and chipboard joints can work loose over time, especially with heavy use. Check and retighten screws every year or so. It takes five minutes and prevents major problems.
Protect the surface: Most flat-pack desk tops are just veneered chipboard. Use desk mats, coasters, and monitor arms to distribute weight and prevent water damage. Once that veneer chips or swells, it’s essentially unfixable.
Don’t exceed weight limits: That specification sheet mentions maximum loads for good reason. Flat-pack joints have specific load ratings, and exceeding them causes gradual failure.
Move carefully: When relocating, disassemble rather than dragging. Flat-pack joints aren’t designed for the racking forces created by moving assembled furniture.
For inspiration on setting up your finished desk properly, our guide to how to set up an ergonomic home office on a budget covers monitor positioning, lighting, and accessories that work well with flat-pack desks.
Bottom Line
Learning how to assemble flat pack desk furniture properly transforms a frustrating ordeal into a manageable weekend project. The secret is preparation – clear space, read instructions completely, organise hardware, and follow the sequence exactly. Rush any of these stages and you’ll spend more time fixing mistakes than building furniture.
Yes, it takes longer than the “90 minutes” promised on the box. Budget three hours for a basic desk, more for complex designs with drawers and hutches. But done right, flat-pack assembly is actually quite satisfying – there’s something deeply pleasing about creating functional furniture from a pile of panels.
The next time you’re facing that living room floor covered in wooden pieces, remember: every furniture assembly veteran started exactly where you are now. Take your time, follow the playbook, and in a few hours you’ll have a desk that looks like it came pre-assembled – without the premium price tag.
Most importantly, don’t be afraid to ask for help when you need it. Whether that’s a second pair of hands to hold panels steady or advice from customer service when things go wrong, getting support early prevents bigger problems later. Your sanity is worth more than stubborn pride when wrestling with flat-pack furniture.
Frequently Asked Questions
What is the ideal desk depth for a home office? Between 60-80 cm works for most setups. You need space for a monitor at arm’s length plus keyboard and mouse. A monitor arm lets you use a shallower desk.
How much weight can a typical desk hold? Flat-pack desks manage 30-50 kg. Solid wood or steel-framed desks handle 80-100 kg or more. Check the manufacturer’s rating if you run multiple monitors.
Is a bigger desk always better? Not necessarily. A well-organised 120 cm desk often beats a messy 180 cm one. Measure your space and leave room for your chair to move freely.
What should I check first with How to Assemble a Flat-Pack Desk Without Losing Your Mind? Start with the real use case, then check size, compatibility, running costs and maintenance. A product that looks good on paper can still be the wrong fit if it does not suit the room, routine or budget.
How do I avoid wasting money on How to Assemble a Flat-Pack Desk Without Losing Your Mind? Avoid buying on one headline feature alone. Compare the practical details, read the warranty or returns terms, and choose the option that solves your main problem rather than the one with the longest specification list.