A good streaming desk is not the one with the most kit on it. It is the one where the game, camera, mic, lights and controls all sit in places you can use without thinking. That matters more than RGB, matching accessories or buying the same setup you saw on YouTube.
For most UK streamers, the difficult bit is space. The desk is often in a spare bedroom, a rented flat, a box room or the same room used for work during the day. The best gaming desk setup ideas for streamers are the ones that make that small space feel deliberate on camera while still being comfortable for a two-hour session.
My view is simple: spend first on placement, light and audio control. A cleaner camera angle, a cheap key light in the right place and a microphone that is close to your mouth will do more for the stream than another decorative gadget on the desk.
In This Article
- Start With the Shot, Not the Shopping List
- Choose the Right Desk Layout
- Place Your Camera Where It Feels Natural
- Build a Lighting Setup That Works in Small Rooms
- Set Up a Microphone Without Blocking the Desk
- Pick a Monitor Layout You Can Actually Manage
- Keep Stream Controls Close But Not in the Way
- Make Cable Management Part of the Layout
- Treat the Room Before Buying More Gear
- Comfort Checks for Long Streams
- The Upgrade Order I Would Follow
- Frequently Asked Questions
Start With the Shot, Not the Shopping List
Before buying anything, open OBS, your webcam app or even your phone camera and look at the actual shot. That tells you what the desk needs. If your face is dark, you need better light before you need a better camera. If your microphone is far away, you need an arm before you need a mixer. If the background is cluttered, you need to move objects before you buy panels or shelves.
The quickest test is to record five minutes as if you were live. Launch a game, talk at normal volume, glance at chat, change scene and move your mouse properly. Watch it back on a phone and a laptop. You are looking for practical problems:
- Your eyes are too low or too high in the frame.
- The microphone blocks your face or keyboard hand.
- The main light reflects in glasses or monitor bezels.
- Chat is far enough away that you keep turning your head.
- Cables, laundry, boxes or a door frame distract behind you.
- You cannot reach mute, scene changes or volume without leaning.
That single recording gives you a better build brief than a list of popular streamer products. It also stops you solving a positioning problem with a purchase.
Choose the Right Desk Layout
A streaming desk needs three working zones. Keep the centre for play, one side for stream controls, and the rear edge for arms, lights and cable exits. If everything competes for the same central space, the setup will look busy and feel annoying within a week.
The Small-Room Layout
In a UK box room, use the back edge of the desk aggressively. Clamp the mic arm, camera arm and light arm at the rear or rear corners, then leave the front 60cm of desk depth for keyboard, mouse and wrists. A 120cm desk can work if you use monitor arms. A 140cm or 160cm desk is more forgiving if the room allows it.
If the desk faces a wall, make the wall useful rather than decorative. A shelf above monitor height can hold a camera, small fill light or background objects. If the desk faces into the room, check what appears behind you before committing. A tidy bookcase or plain wall usually beats a door, wardrobe mirror or window.
The Shared Work and Stream Layout
If the same desk handles work and streaming, avoid permanent clutter. Keep lights and the mic on arms, use a headphone hook, and put the stream deck or control pad on a small angled stand that can move aside during work. This is where cable trays and Velcro ties pay for themselves: the desk can change modes without turning into a weekly detangling job.
The Health and Safety Executive’s advice on display screen equipment is worth checking if you use the same desk for long work days and streams. The boring ergonomic details are the ones that decide whether the setup is still comfortable after a month.
Place Your Camera Where It Feels Natural
The best camera position for most streamers is just above or behind the main monitor, close to eye level. It should feel as if you are talking to the viewer when you glance up, not as if you are being filmed by a security camera from the side.
- For one monitor: place the webcam above the screen, centred, with the lens around eye height or slightly above.
- For two monitors: put the camera above the primary screen, not between the two, unless you naturally look between them while talking.
- For a mirrorless camera: use a small tripod behind the monitor or a strong clamp arm. Do not balance it on a shelf that shakes when you type.
- For tight desks: mount the camera to a wall shelf or monitor arm accessory rather than sacrificing mouse space.
Frame the shot with your eyes roughly in the upper third, a little space above your head, and shoulders visible. If you sit very close to the monitor, a wider webcam can help, but do not overdo it. Ultra-wide webcam views often make small rooms look messier than they are.
A Logitech C920 or similar webcam is still enough for many small channels if the lighting is controlled. Moving from a poor webcam to a mirrorless camera can look better, but moving from poor lighting to decent lighting usually makes the bigger difference.
Build a Lighting Setup That Works in Small Rooms
UK daylight is unreliable, and overhead ceiling lights rarely flatter anyone. Treat your stream as if it needs its own lighting, even if that starts with one compact LED panel.
The Basic Two-Light Setup
Put your main light slightly above eye level and off to one side, angled toward your face. Then use a weaker fill light, monitor light bar or bounced lamp on the other side if shadows are too harsh. In a small room, compact LED panels are usually easier than softboxes because they can clamp to a desk, shelf or wall arm.
- Ring light: useful when space is very tight, but it can create obvious circular reflections in glasses.
- LED panel: better control over brightness and colour temperature, and easier to angle away from glasses.
- Light bar: good for desk work, but not usually enough as the only stream light.
- Background light: useful after the face is lit properly, not before.
Set colour temperature once and leave it alone. Around 4,000K to 5,600K works for many rooms, depending on wall colour and daylight. Mixing warm ceiling bulbs with cool LED panels is what makes skin tones look odd.
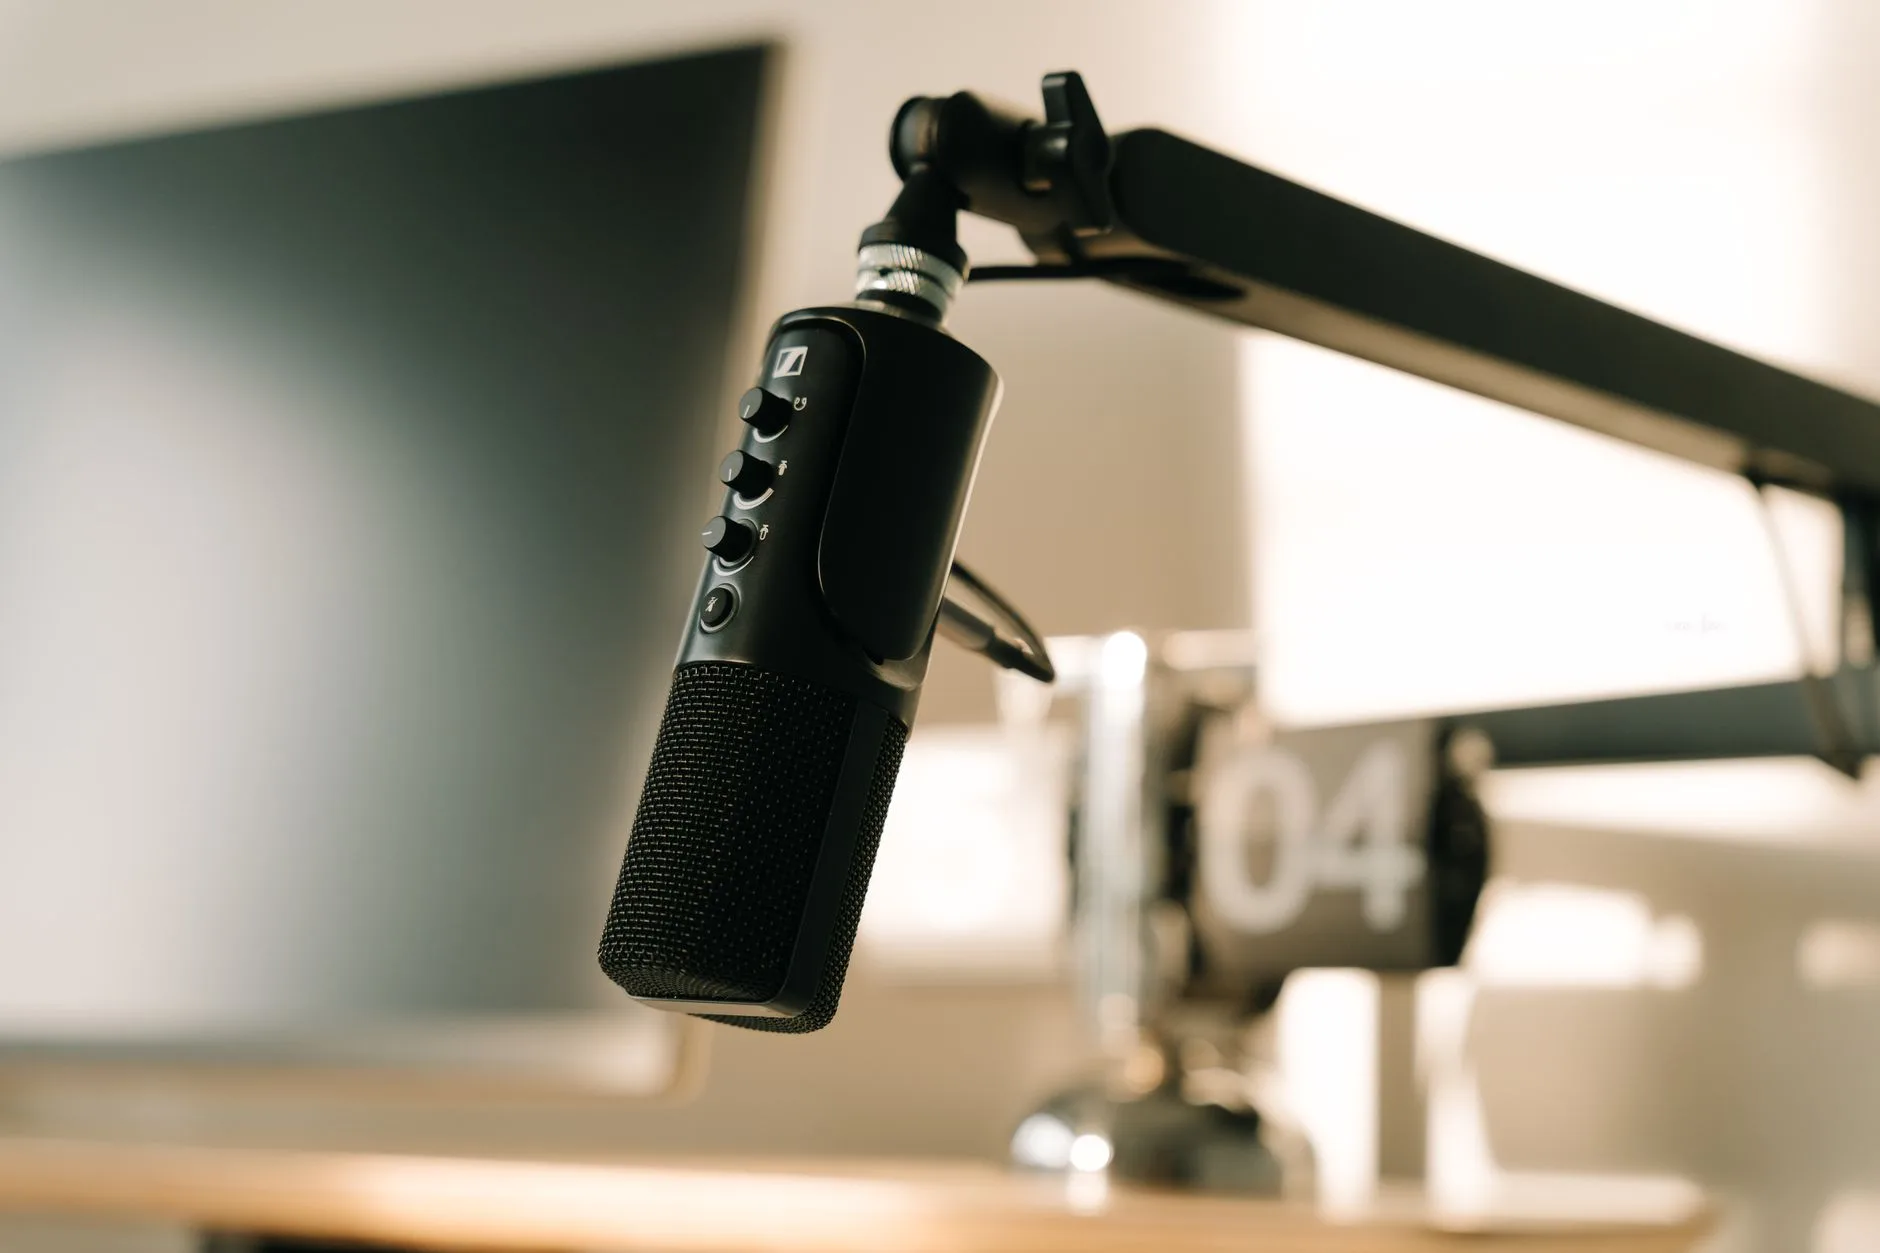
Set Up a Microphone Without Blocking the Desk
Audio is where a lot of gaming desk setups go wrong. The microphone looks impressive, but it is too far from the mouth, too close to the keyboard, or sitting in the middle of the desk like a trophy. For streaming, close and controlled beats expensive and badly placed.
A USB mic such as an Elgato Wave:3, Blue Yeti or similar can be enough if it sits on a proper arm and is kept close. XLR mics and audio interfaces make sense later, but they are not the first thing I would buy for a new stream desk.
- Mount the arm on the rear side corner of the desk, not where your mouse hand keeps hitting it.
- Bring the mic within 10-20cm of your mouth, then lower gain instead of shouting across the desk.
- Angle it slightly off-axis to reduce plosives.
- Keep it away from PC exhaust fans, open windows and mechanical keyboard noise where possible.
- Use a shock mount or soft desk pad if vibration travels through the arm.
If the mic arm keeps appearing in the camera shot, do not immediately buy a smaller mic. Move the camera a touch higher, rotate the arm from the side rather than the front, or use a low-profile arm. The aim is to keep the mic close while making it visually quiet.
Pick a Monitor Layout You Can Actually Manage
Dual monitors are useful for streaming, but they are not mandatory. The right monitor layout is the one that lets you play comfortably, glance at chat and control the stream without constantly twisting your neck.
Single vs Dual Monitor Streaming
A single 27-inch monitor can work if you use a phone, tablet or compact overlay for chat and alerts. It is cleaner for small desks and easier to frame. Dual monitors are better once you want chat, OBS, Discord and browser sources visible at the same time.
If you go dual, keep the gaming monitor straight ahead and angle the second screen toward your non-dominant side. A vertical second monitor can work well for chat, but only if it does not force the webcam too far off centre. For sizing, the monitor size guide is a useful starting point.
Monitor arms are one of the few upgrades I would buy early. They free desk space, make camera placement easier and help you get the top of the screen near eye level. If the desk is shallow, they are almost essential.
Keep Stream Controls Close But Not in the Way
Stream controls should be reachable without looking down for long. Scene changes, mute, clip, sound levels and marker buttons all belong within one relaxed hand movement. They should not sit in the mouse path or behind the keyboard where every press becomes a stretch.
An Elgato Stream Deck is the obvious option, and Elgato’s official Stream Deck setup guide is clear if you go that route. But a phone or tablet running Touch Portal, a small macro pad, or keyboard shortcuts can do the job while you are still testing whether streaming will stick.
- Put controls on the side of your non-mouse hand if you mainly need them between gameplay moments.
- Use an angled stand so labels are readable without leaning forward.
- Keep the USB cable routed to the rear edge, not across the desk mat.
- Start with fewer buttons than you think: mute, scene switch, starting soon, be right back, clip and marker.
Make Cable Management Part of the Layout
Cable management is not just about making the setup look tidy on Reddit. Stream desks have more things that can be pulled loose: camera USB, mic cable, light power, monitor cables, capture cards, headphones and chargers. A messy cable run creates faults that are hard to diagnose when you are about to go live.
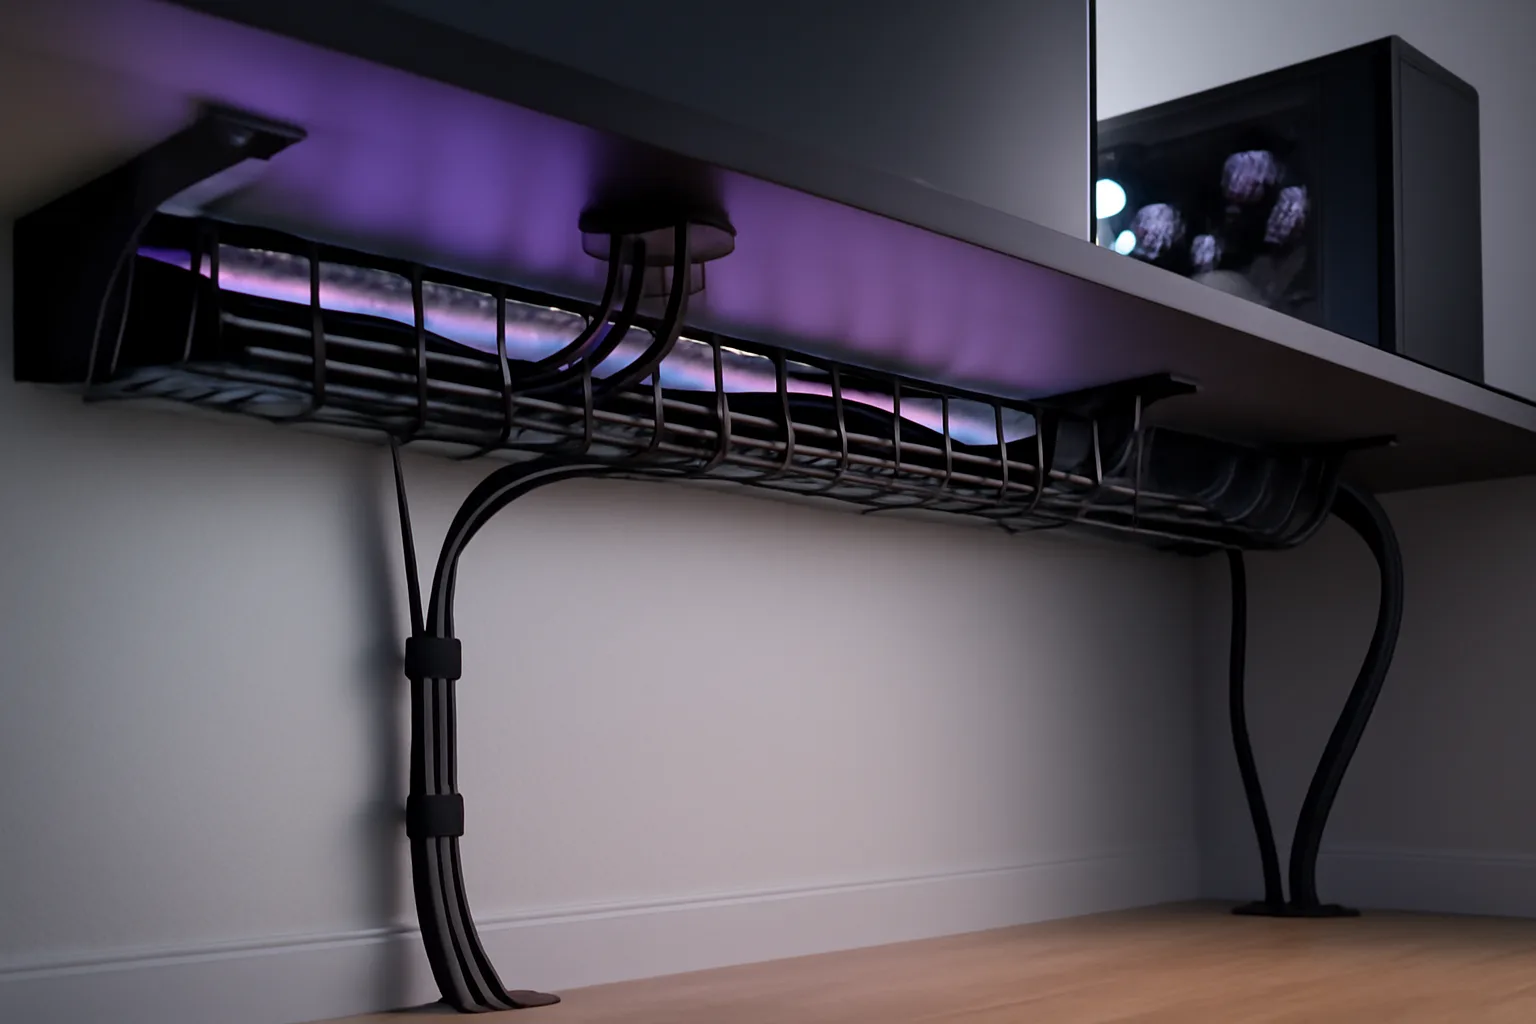
Use an under-desk cable tray for power blocks, Velcro ties for anything you may change later, and adhesive clips only for light cables that do not carry much weight. If you have a standing desk, leave a proper service loop so the desk can move through its full height without pulling on the PC or wall socket.
Label both ends of important cables. It sounds excessive until a camera drops out five minutes before a stream and every black USB cable looks identical. For more practical kit choices, see desk accessories you actually need.
Treat the Room Before Buying More Gear
If the stream sounds hollow, the answer is often the room rather than the microphone. Bare walls, laminate floors and empty corners reflect sound back into the mic. You do not need to turn the room into a studio, but you do need to stop the worst reflections.
- Add a rug if the floor is hard.
- Use curtains rather than bare blinds where possible.
- Place soft furnishings or filled shelves behind or beside the desk.
- Put acoustic panels near the first reflection points, not randomly across every wall.
- Close the door and window before judging the microphone.
Foam tiles can help with flutter echo, but they are not magic. In rented rooms, freestanding panels, picture-rail hooks or removable strips are safer than covering walls with adhesive squares you will later regret.
Comfort Checks for Long Streams
A desk can look excellent on camera and still be a bad place to sit. Streaming adds extra strain because you are playing, talking, reading chat and staying on camera at the same time. If the chair, monitor height or keyboard position is wrong, you will feel it quickly.
- Keep feet flat on the floor or on a footrest.
- Set the main monitor at roughly arm’s length, with the top near eye level.
- Keep keyboard and mouse close enough that shoulders stay relaxed.
- Make sure the mic arm does not force your elbows into a cramped position.
- Put drinks somewhere reachable but away from cables and power strips.
If you are building the desk from scratch, use the ergonomic desk setup checklist alongside the stream-specific decisions. Comfort is not separate from stream quality. It affects how relaxed you look and how long you can stay consistent.
The Upgrade Order I Would Follow
If I were building a streamer desk on a sensible budget, I would not start with the flashiest item. I would upgrade in this order:
- Desk layout and monitor position: free if you already own the kit, and it fixes many problems.
- Lighting: a compact LED panel or ring light in the right place improves the camera instantly.
- Mic arm and placement: getting the mic close usually beats buying a more expensive microphone.
- Cable tray and Velcro: cheap, boring and worth it.
- Second monitor or chat device: useful once you know what you need visible.
- Stream controls: add a Stream Deck, macro pad or tablet controls when shortcuts become a bottleneck.
- Camera upgrade: worth considering after light, framing and audio are already sorted.
The final test is whether the setup disappears while you are live. You should be able to play, talk, mute, switch scenes, glance at chat and adjust volume without the desk demanding attention. That is what makes a streamer setup feel professional: not the number of gadgets, but the lack of friction.
Frequently Asked Questions
What is the best budget camera position for streaming? Put the webcam above or just behind your main monitor, close to eye level. That gives a more natural angle than placing it low on the desk or far off to one side.
Do I need two monitors for streaming? No. A second monitor is useful for chat, OBS and alerts, but beginners can stream from one monitor with a phone or tablet used for chat. Add the second screen when the workflow feels cramped.
Are ring lights good for gaming streams? Ring lights are useful in small rooms because they are compact and simple. LED panels give more control and usually handle glasses and shadows better, but either can work if placed well.
Where should a microphone go on a gaming desk? Mount it on a boom arm from the rear side corner of the desk, close to your mouth and slightly out of the camera frame. Avoid placing it on a stand in the middle of the desk.
What should I upgrade first for a better-looking stream? Upgrade lighting first, then microphone placement. Those two changes usually improve a stream more than buying a new camera before the setup is controlled.